Few things are more frustrating than reaching for a spray bottle — only to squeeze the trigger and get nothing. Whether you are misting your plants, spritzing your hair, or cleaning the kitchen counter, a spray bottle not working can bring your task to a standstill. The good news? Most spray bottle problems are surprisingly easy to fix, and you usually do not need any special tools.
In this complete guide, we will walk you through how to fix a spray bottle step by step. We cover every common issue — from clogged nozzles to broken springs — and include specific advice for continuous spray bottles, trigger sprayers, and fine mist sprayers alike. By the end, you will know exactly what is wrong with your bottle and how to get it spraying again.
Key Takeaways
- 80% of spray bottle failures are caused by just two issues: clogged nozzles and air locks — both fixable in under 5 minutes.
- Always start with the simplest fix (clean nozzle → re-prime pump) before disassembly.
- Hot water soak (not boiling — stay below 70°C / 158°F) solves most clogs safely.
- Continuous spray bottles need 20-30 priming pumps and should be filled to 30-80% capacity.
- Prevention is key: flush with warm water after every use to stop residue from forming.
Quick Diagnostic Table: Find Your Problem Fast
Not sure what is wrong? Use this table to match your spray bottle symptoms to the most likely cause and jump straight to the right fix.
| Symptom | Most Likely Cause | Fix |
|---|---|---|
| Nothing comes out when you pump | Air lock / lost prime | Fix 2: Re-Prime |
| Weak, dribbling spray | Partially clogged nozzle or failing seal | Fix 1: Unclog → Fix 3: Seals |
| Spray goes sideways or uneven | Partial nozzle blockage | Fix 1: Pin Method |
| Trigger feels limp, no bounce-back | Broken or weakened spring | Fix 5: Spring |
| Trigger pumps easily but no resistance | Air leak from gasket or crack | Fix 3: Air Leaks |
| Hissing sound when pumping | Cracked housing or worn gasket | Fix 3: Air Leaks |
| Works only when tilted at certain angles | Dip tube too short, kinked, or cracked | Fix 4: Dip Tube |
| Brand new bottle will not spray | Not primed yet (normal) | Fix 2: Re-Prime |
| Continuous bottle gives short bursts only | Insufficient priming or wrong fill level | Fix 7: Continuous |
| Nozzle stuck / won't turn | Dried residue gluing parts together | Fix 1: Hot Water Soak |
How a Spray Bottle Works: Understanding the Mechanism
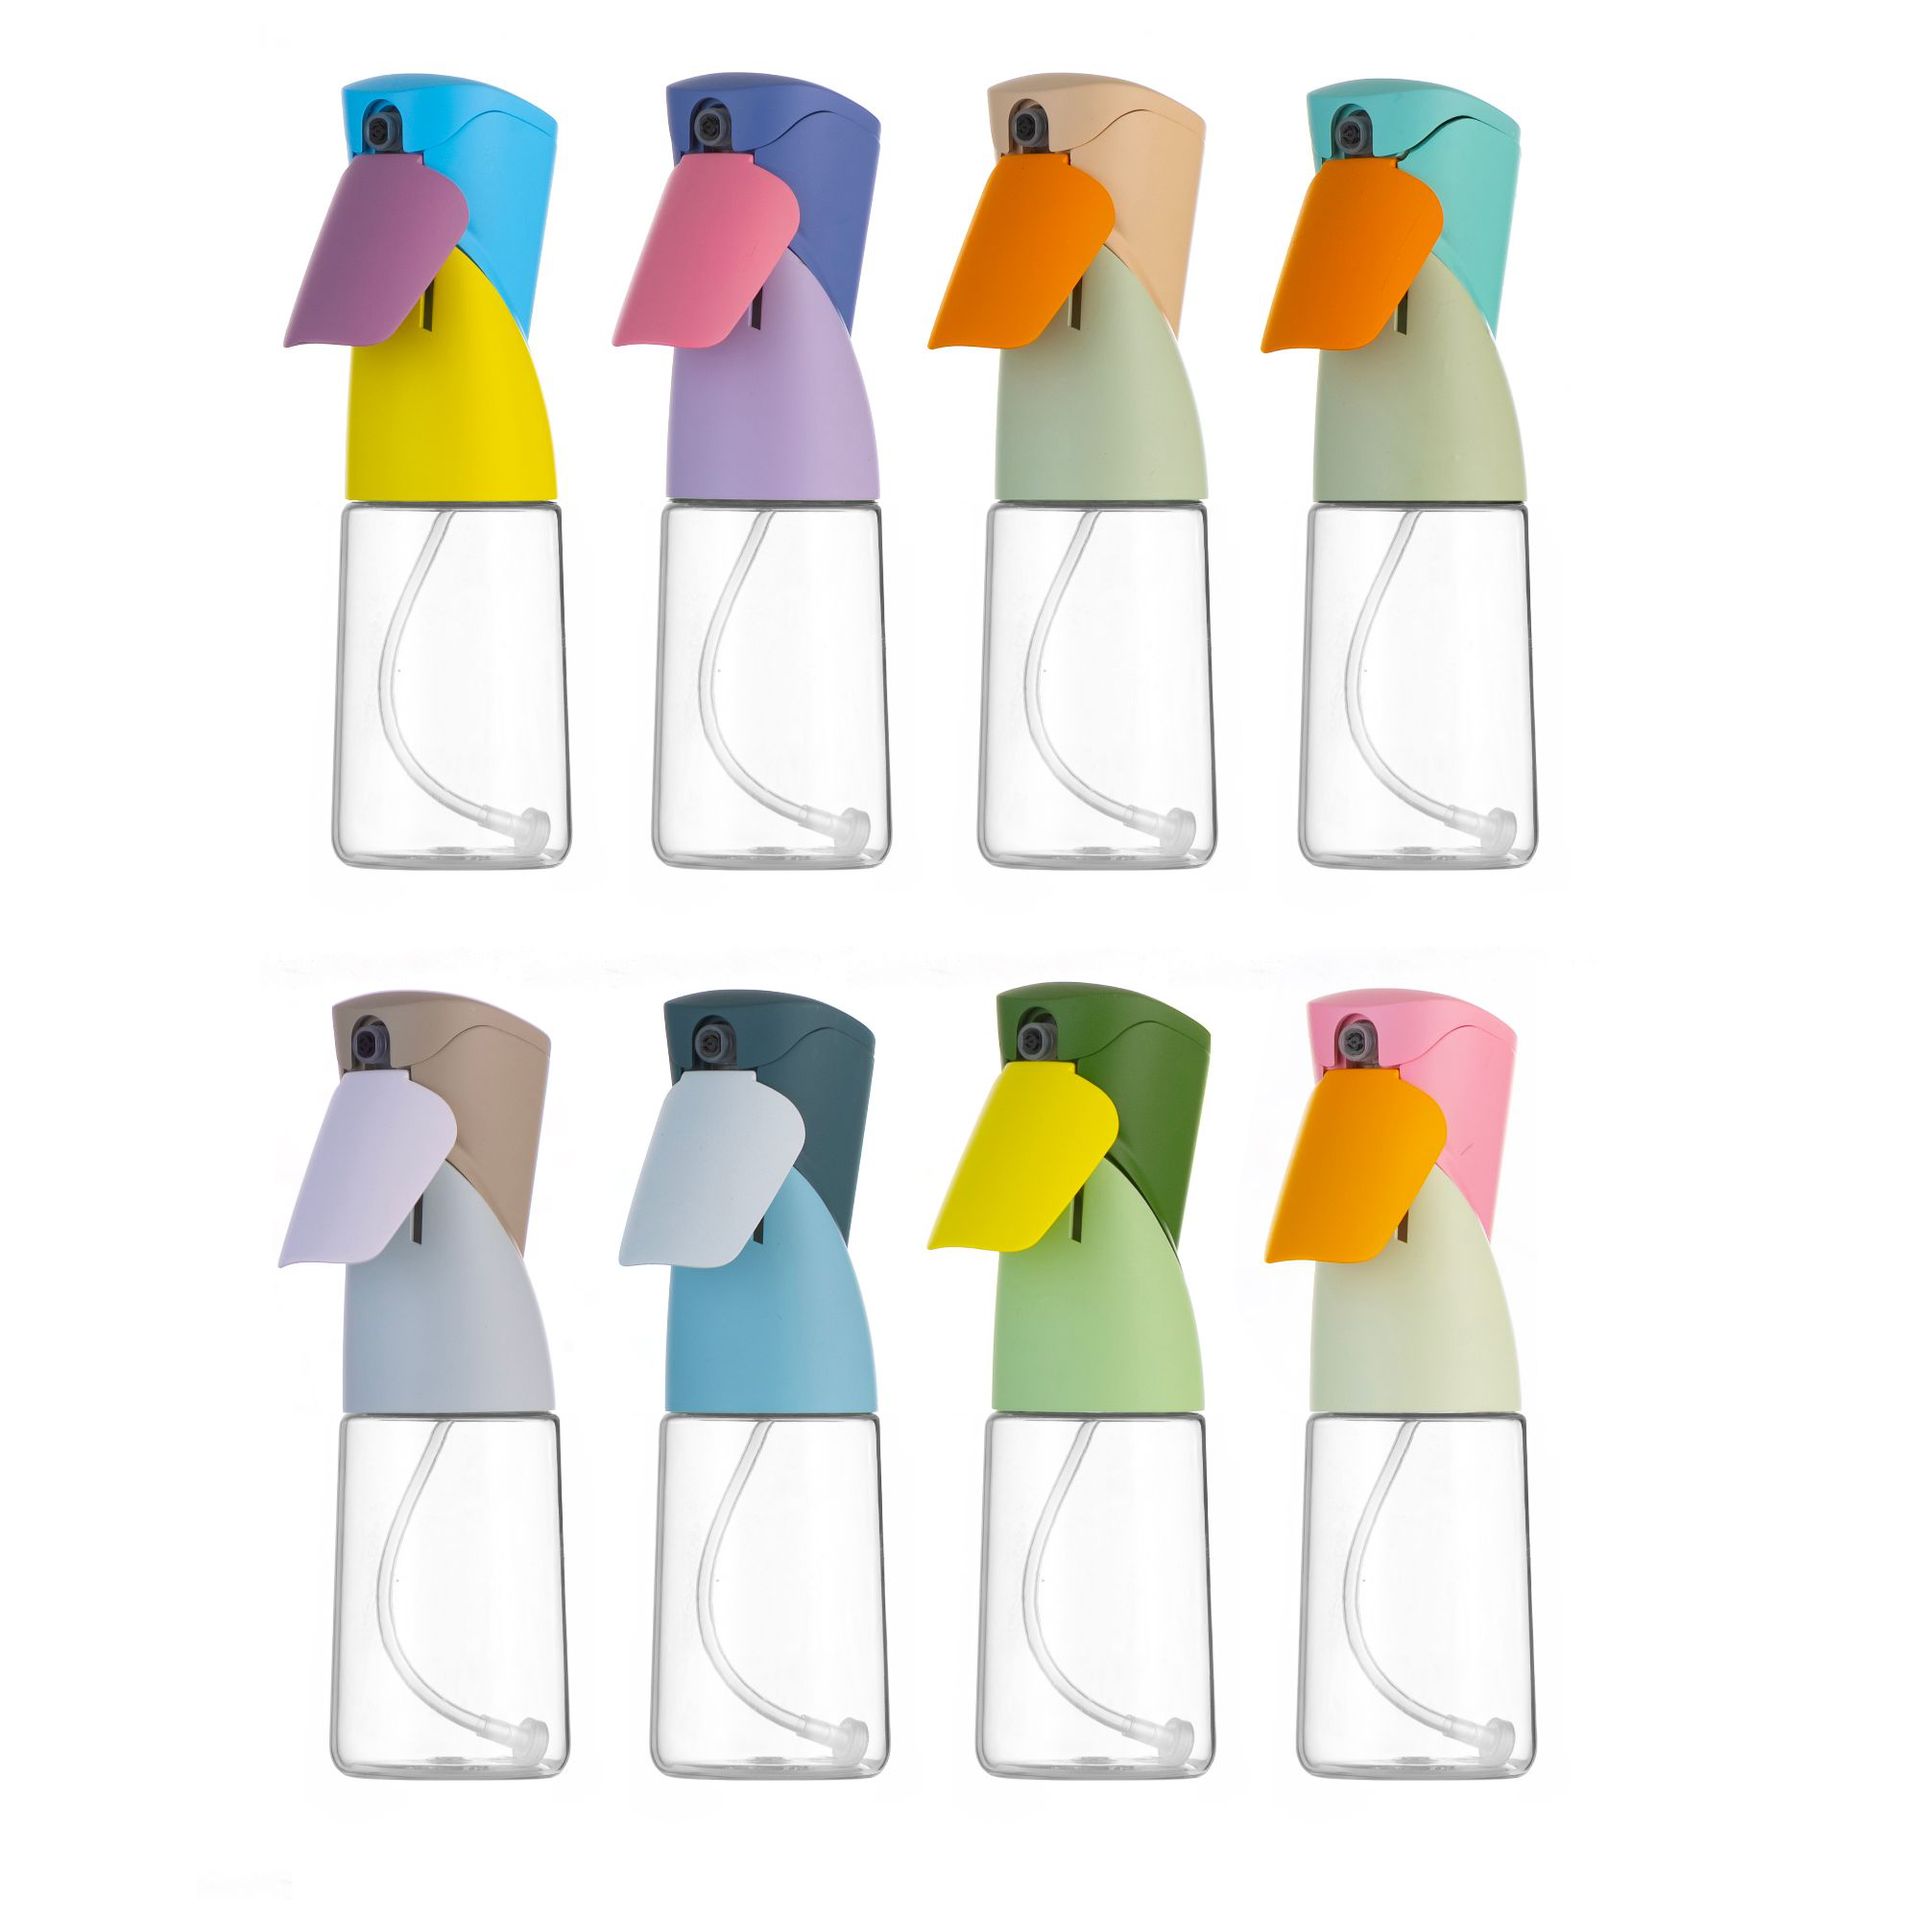
Before diving into repairs, understanding what is inside your spray bottle makes troubleshooting much easier. Every spray bottle — whether it is a trigger sprayer, fine mist sprayer, or continuous spray bottle — uses the same basic principle: a pump creates pressure to push liquid through a nozzle.
Key Internal Components
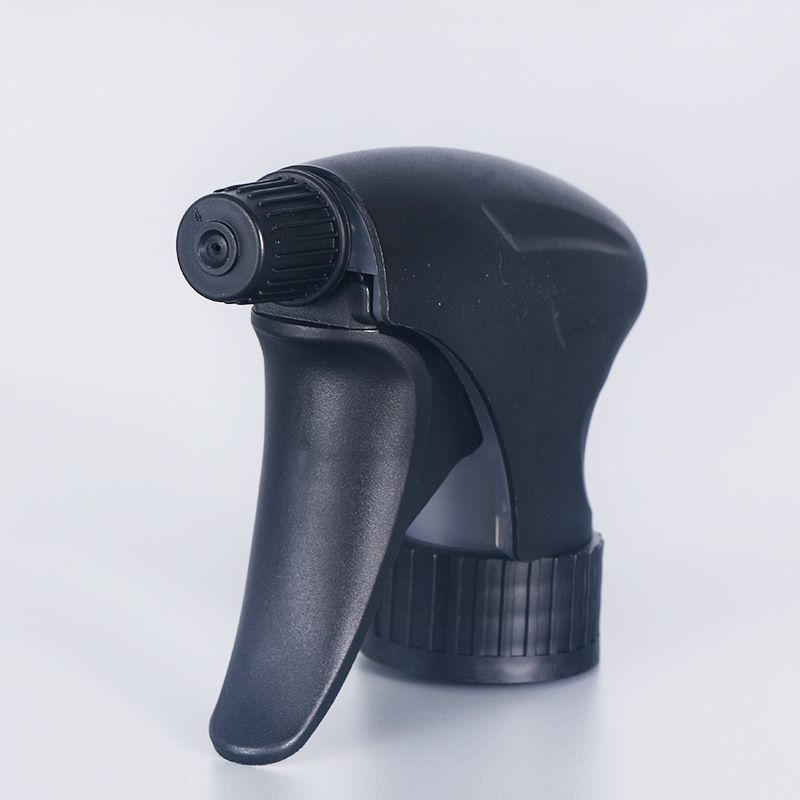
- Trigger / Actuator: The part you squeeze. It drives the piston that creates pressure inside the pump chamber.
- Piston & Cylinder: When you squeeze the trigger, the piston moves forward inside the cylinder, compressing the liquid and forcing it out through the nozzle.
- Spring: A small metal coil that returns the piston to its resting position after each squeeze. The return stroke creates a partial vacuum that draws fresh liquid into the chamber.
- Dip Tube: The narrow straw that reaches from the pump head to the bottom of the bottle. It is the pathway for liquid to travel from the bottle into the pump. The bottom is often cut at an angle to prevent it from sealing flat against the bottle floor.
- One-Way Valves (Check Valves): Two tiny valves — one at the dip tube inlet and one at the nozzle outlet — that ensure liquid flows in only one direction. Without these, liquid would flow back down after each pump.
- Gaskets & Seals: Rubber or silicone rings that create airtight connections at every joint. They prevent air from leaking in and pressure from leaking out.
- Nozzle: Shapes and directs the liquid output. Adjustable nozzles can switch between stream, mist, and off positions.
The pump cycle in 4 steps:
- Squeeze: Piston moves forward → compresses liquid in the chamber → liquid is forced out through the nozzle valve.
- Release: Spring pushes piston back → creates a vacuum inside the chamber.
- Intake: Vacuum pulls liquid up through the dip tube and into the chamber via the inlet valve.
- Ready: Chamber is refilled with liquid, primed for the next squeeze.
When any component in this cycle fails — a clogged nozzle, a broken spring, a cracked seal, a kinked dip tube — the whole system stops working. Now that you understand the mechanism, let us fix what is broken.
What You Will Need
Most spray bottle repairs require no special tools. Here is everything you might need, depending on the issue:
- Basic supplies: Bowl of hot water (below 70°C / 158°F), clean towel, warm running water
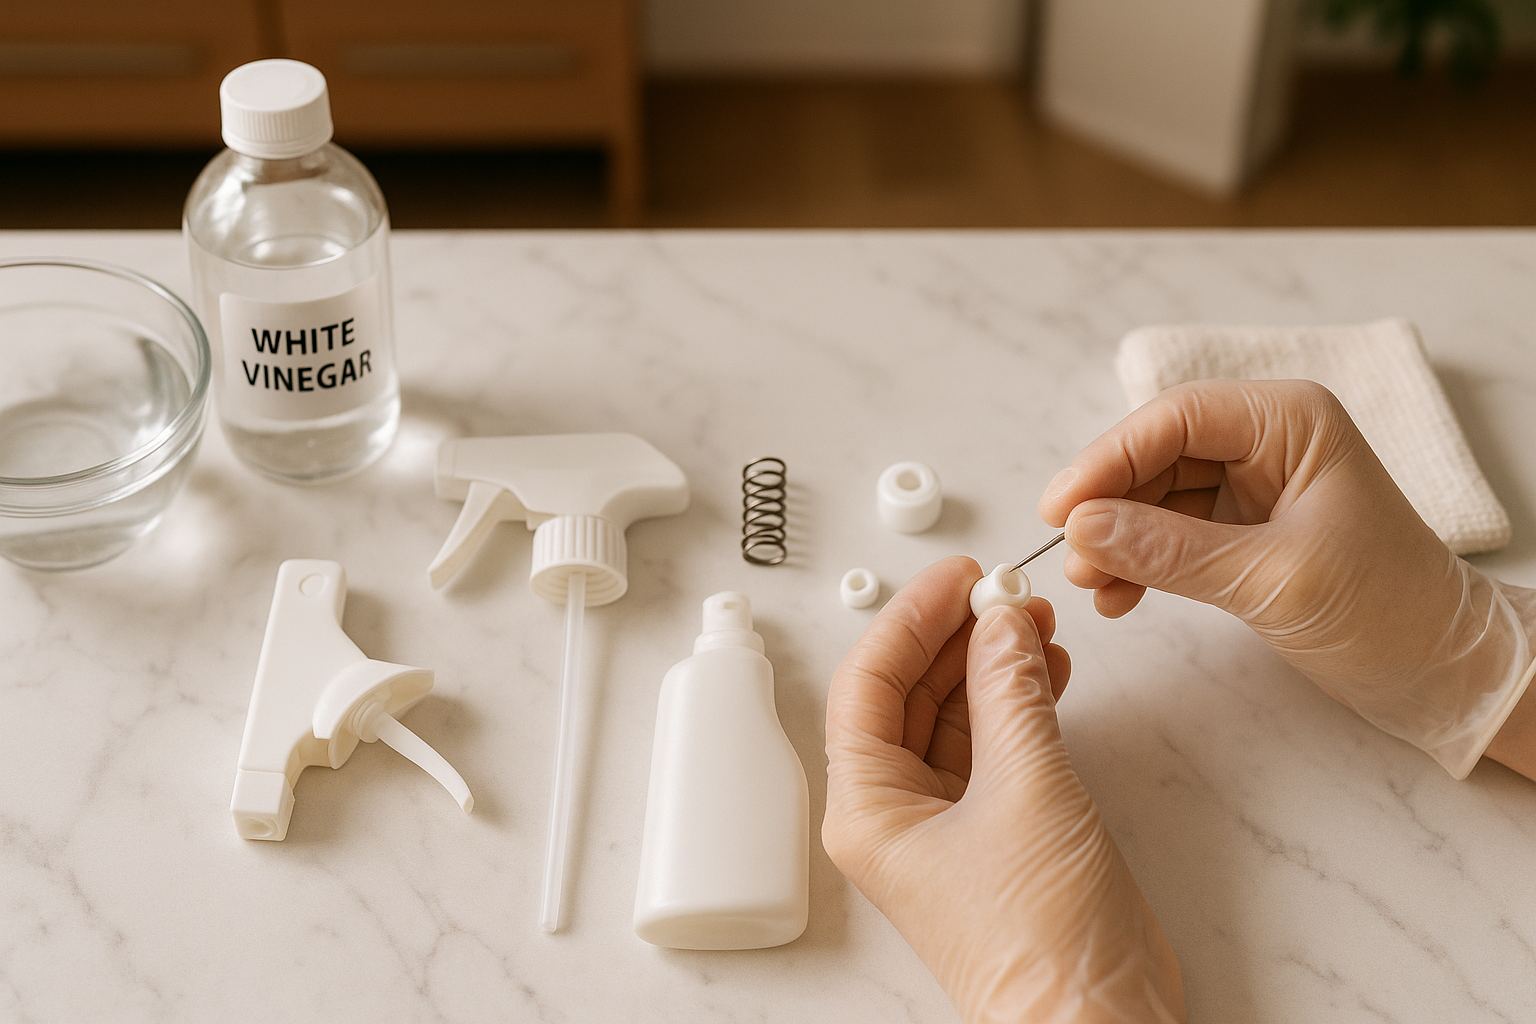
- For clogged nozzles: White vinegar, thin pin or sewing needle, toothpick, rubbing alcohol (for hairspray or oil-based residue)
- For seal & gasket repairs: Food-grade silicone lubricant or petroleum jelly, replacement O-rings (hardware store)
- For dip tube repairs: Aquarium tubing or 1/8-inch plastic tubing (pet store or hardware store), scissors
- For spring replacement: Replacement spring (from another spray bottle or hardware store), small screwdriver, phone camera (for reference photos during disassembly)
⚠ Safety Note
Never use boiling water to clean spray bottle parts. Boiling water can warp plastic components, damage seals, and if your bottle contained alcohol-based liquids (hairspray, sanitizer, perfume), the ethanol boiling point is just 78°C — hot enough to cause splattering. Keep water temperature below 70°C (158°F) — hot tap water is ideal.
Why Spray Bottles Stop Working: 7 Common Causes
Before you start taking things apart, it helps to understand why your spray bottle stopped spraying. Here are the most common culprits, ranked from most to least frequent:
1. Clogged Nozzle
This is the number one reason for a spray bottle not spraying. Over time, liquid residue — especially from cleaning chemicals, essential oils, or hard water — dries inside the nozzle opening and blocks the spray. You might notice the spray pattern becoming uneven or weak before it stops entirely.
Different liquids create different types of clogs:
- Hard water & cleaning chemicals: Leave mineral deposits (white, chalky buildup) — best dissolved with vinegar.
- Hairspray & styling products: Leave sticky polymer residue — best dissolved with rubbing alcohol.
- Essential oils & oil-based products: Leave oily film that traps dust and particles — best dissolved with dish soap and warm water.
- Fertilizers & plant food: Leave crystallized salt deposits — best dissolved with vinegar or warm water soak.
2. Air Lock (Lost Prime)
Spray bottles work by creating a pressure differential to draw liquid up through the dip tube. If air gets trapped inside the pump mechanism, it cannot build enough pressure to pull the liquid upward. This is particularly common with a new spray bottle not working right out of the package — it simply has not been primed yet.
3. Broken or Weakened Spring
Inside every pump-style spray bottle is a small spring that returns the piston to its resting position after each squeeze. Over time, this spring can weaken, corrode, or break entirely. When the spring fails, the trigger feels loose or does not bounce back, and the pump cannot generate enough suction to move liquid.
4. Worn Gasket or Seal
The small rubber or silicone gaskets inside the pump head create an airtight seal that is essential for building pressure. When these seals dry out, crack, or become misshapen, air leaks in and pressure leaks out. The result? You pump and pump, but nothing comes out.
5. Wrong Liquid Viscosity
Spray bottles are engineered for liquids within a certain viscosity range. Thick liquids like undiluted soap, heavy oils, or suspensions with particles can overwhelm the pump mechanism. The liquid is simply too thick to be drawn up the dip tube and forced through the tiny nozzle opening.
6. Dip Tube Problems
The dip tube is the narrow straw that extends from the pump head down to the bottom of the bottle. If it is cracked, disconnected, kinked, or too short, the pump cannot reach the liquid. This issue is easy to miss because the dip tube is hidden inside the bottle.
7. Chemical Incompatibility
Certain chemicals can react with the materials in your spray bottle over time. Strong solvents, concentrated acids, or bleach can degrade PP (polypropylene) pump components, cause PE (polyethylene) gaskets to swell, or corrode the stainless steel spring. This type of damage often is not visible immediately — the bottle works fine for weeks, then gradually fails as the materials deteriorate from the inside. Unfortunately, chemical incompatibility damage is usually irreversible.
How to Fix a Spray Bottle That Won't Spray: Step-by-Step Solutions
Now that you know what might be wrong, let us fix it. Work through these solutions in order — start with the simplest fixes first and move on to more involved repairs only if needed.
Fix 1: Unclog the Nozzle
Best for: Spray that is weak, uneven, or completely blocked. This is the first thing to try when your spray bottle not working issue starts gradually.
Time needed: 5-30 minutes
Difficulty: Easy — no disassembly required
Method A: Hot Water Soak (Try This First)
- Unscrew the spray head from the bottle.
- Fill a bowl with hot (not boiling) water — hot tap water around 50-65°C (120-150°F) is ideal.
- Submerge the entire spray head assembly in the hot water for 15-20 minutes.
- While the nozzle is soaking, pump the trigger several times underwater. This forces hot water through the internal passages and loosens dried residue.
- Remove, shake off excess water, reattach to the bottle, and test.
Method B: Vinegar Soak (For Mineral Deposits & Stubborn Clogs)
- Mix equal parts white vinegar and hot water in a bowl.
- Submerge the spray head for 30 minutes to 1 hour.
- The acetic acid in vinegar dissolves mineral deposits and dried cleaning chemical residue that water alone cannot break down.
- Pump the trigger several times in the solution, rinse with clean water, and test.
Method C: Rubbing Alcohol Soak (For Hairspray, Oils & Sticky Residue)
- If your bottle was used for hairspray, essential oils, or other oil-based products, vinegar will not work well. Use rubbing alcohol (isopropyl alcohol) instead.
- Submerge the spray head in rubbing alcohol for 15-30 minutes. The alcohol dissolves sticky polymers and oil-based residue much more effectively than water or vinegar.
- Pump several times while submerged, rinse, and test.
Method D: The Pin Method (For Visible Blockages)
- Look closely at the nozzle opening. If you can see buildup or debris, use a thin pin, needle, or toothpick to carefully clear the opening.
- Insert the pin gently and rotate it to break up the clog. Be careful not to scratch or enlarge the nozzle hole, as this will change the spray pattern permanently.
- Flush with warm water and test.
Pro tip: If you regularly use your spray bottle for cleaning solutions or products that leave residue, flush the nozzle with clean warm water after each use. This one habit prevents most clogs from forming in the first place.
Fix 2: Re-Prime the Pump
Best for: New spray bottle not working, bottles that have sat unused for a long time, or bottles that were stored empty. This is also the most common fix for a spray bottle that won't spray after refilling.
Time needed: 1-3 minutes
Difficulty: Easy
- Fill the bottle at least halfway with liquid. A pump cannot prime if there is not enough liquid for the dip tube to reach.
- Pump repeatedly. Squeeze the trigger 15-30 times in quick succession. With each pump, you are pushing air out and drawing liquid in. You should eventually feel resistance change as liquid enters the pump chamber.
- Still not working? Try the warm water prime: remove the spray head, hold it over a cup of warm water with the dip tube submerged, and pump. Warm water flows more easily than cold and helps break the air lock.
- Try the invert method. Turn the bottle upside down so the dip tube is in the liquid, then pump a few times. This uses gravity to help push liquid into the pump chamber faster. Turn the bottle right-side-up and test normally.
- Check the dip tube position. While the head is off, make sure the dip tube (the straw) is straight and reaches close to the bottom of the bottle. If it is bent or too short, liquid cannot reach the pump.
How it works: When you pump an empty or air-locked sprayer, each squeeze pushes a small amount of air out through the nozzle. The return stroke creates a partial vacuum that pulls liquid up the dip tube. After enough pumps, the liquid reaches the pump chamber and normal operation resumes.
Fix 3: Fix Air Leaks
Best for: Bottles where the trigger pumps but feels too easy (no resistance), or where you can hear air hissing during pumping.
Time needed: 5-15 minutes
Difficulty: Easy to moderate
- Tighten the spray head. The most overlooked fix — simply screw the pump head onto the bottle more tightly. A loose connection lets air in and prevents pressure from building. Make sure you are tightening it the right direction and that the threads are aligned (cross-threading is a common mistake).
- Inspect the gasket. Unscrew the spray head and look at the gasket (rubber ring) at the base where it meets the bottle opening. If it is cracked, flattened, or missing, replace it. A small O-ring from a hardware store often works as a replacement.
- Apply food-grade lubricant. If the gasket looks intact but slightly dry or stiff, applying a tiny amount of food-grade silicone lubricant or petroleum jelly can restore its flexibility and sealing ability. This is especially effective for bottles that have been stored for a long time.
- Check for cracks. Inspect the pump housing, collar, and bottle neck for hairline cracks. Even a tiny crack will prevent the pump from building pressure. Hold the parts up to a bright light — cracks often show as thin lines of light passing through. Unfortunately, a cracked pump housing usually means replacement is the best option.
Fix 4: Fix the Dip Tube
Best for: Bottles that spray fine when new but stop working after a refill, or bottles that only spray when tilted at certain angles.
Time needed: 5-15 minutes
Difficulty: Easy
- Check the length. Remove the spray head and examine the dip tube. It should reach within about 5-10mm of the bottle's bottom. If it is too short, the pump cannot reach liquid when the bottle is less than half full.
- Check for kinks. If the dip tube is made of flexible tubing, it may have kinked or folded inside the bottle. Straighten it out by gently bending it back into shape. Soaking in warm water for a few minutes helps soften rigid kinks.
- Check the connection. Make sure the dip tube is firmly attached to the pump head. If it pulls off easily, push it back on firmly. Some designs use a friction fit while others have a small barb connector.
- Replace if cracked. A cracked dip tube lets air in at the crack point instead of drawing liquid from the bottom. Replace it with tubing of the same diameter — aquarium tubing from a pet store works well as a substitute.
Bonus: Extend a Dip Tube That Is Too Short
If your dip tube does not reach the bottom — especially common with replacement or aftermarket spray heads — you can extend it:
- Buy a length of 1/8-inch (3mm) flexible plastic tubing from a hardware or pet store.
- Cut a piece long enough to reach the bottom of your bottle plus about 5mm.
- Slip it over the end of the existing dip tube (or use it as a full replacement). A snug friction fit is usually sufficient.
- To keep the tube at the bottom of the bottle, you can attach a small stainless steel nut as a weight near the end of the tube.
Fix 5: Replace the Spring
Best for: Triggers that feel limp, do not bounce back after squeezing, or stick in the squeezed position.
Time needed: 10-20 minutes
Difficulty: Moderate — requires disassembly
- Disassemble the pump head. Carefully pull apart the trigger mechanism. Take photos with your phone as you go so you remember how to reassemble it. Most trigger sprayers have a trigger piece, piston, spring, and housing.
- Locate the spring. It is usually a small metal coil sitting behind the piston or trigger lever.
- Test the spring. Press it between your fingers. A healthy spring should feel firm and snap back quickly. A failed spring will feel soft, will not return to full length, or will be visibly corroded or broken.
- Replace it. Finding exact replacement springs can be tricky. Try taking the old spring to a hardware store to match the size. Small compression springs from pen mechanisms or hobby shops sometimes work. Alternatively, a spring from another spray bottle of similar size is often a perfect fit.
- Reassemble and test. Put everything back together using your reference photos. The trigger should now feel firm and bounce back smartly after each squeeze.
Reality check: If the spring replacement does not fix the issue, or if other internal components are also worn, the pump mechanism has likely reached the end of its usable life. At this point, replacing the spray head or the entire bottle is more practical than further repair.
Fix 6: Fix a Stuck Check Valve
Best for: Bottles where the pump feels normal but no liquid is drawn up, or where liquid flows backward out of the dip tube.
Time needed: 10-20 minutes
Difficulty: Moderate
Spray bottles have two one-way check valves — a small ball or flap at the base of the pump (inlet valve) and one near the nozzle (outlet valve). If either one gets stuck open or stuck closed by debris, the pump cannot create proper suction.
- Remove the spray head and look at the bottom of the pump mechanism where the dip tube connects. You may see a tiny ball or flap — this is the inlet check valve.
- Soak in warm water and pump vigorously several times. This can dislodge debris that is preventing the valve from seating properly.
- Use a thin pin to gently tap or push the valve ball. It should move freely and return to its seat. If it is stuck, gentle agitation usually frees it.
- Test by blowing. With the dip tube removed, try blowing gently into the pump inlet (bottom). Air should pass through in one direction but not the other. If air flows freely both ways, the check valve is stuck open and the pump cannot create suction.
Fix 7: Troubleshoot a Continuous Spray Bottle Not Working
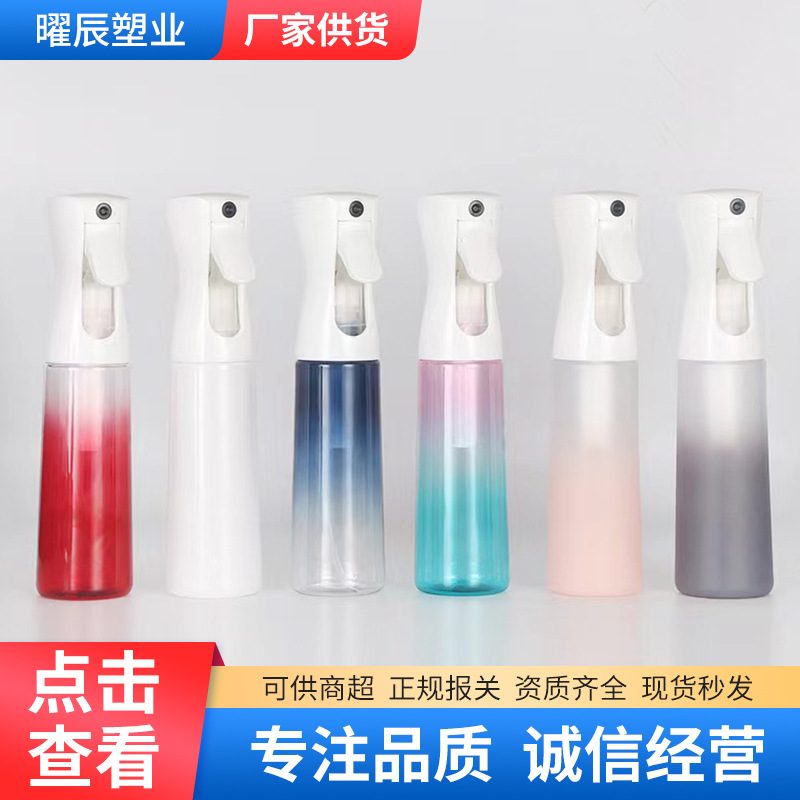
Continuous spray bottles use a different internal mechanism than standard trigger sprayers. Instead of a simple piston pump, they use a pressurized chamber system that delivers a sustained fine mist. This means they have some unique failure modes.
Problem: No Continuous Mist (Only Short Bursts)
- Prime properly. Continuous spray bottles need more initial pumps to pressurize the chamber. Pump the trigger 20-30 times before expecting continuous output. This is the most common mistake.
- Check liquid level. These bottles work best when filled between 30% and 80% capacity. Too full, and there is not enough air space to build pressure. Too empty, and the pump cannot maintain consistent suction.
- Use the right liquid. Continuous spray bottles are designed for water-like viscosity. Thick lotions, oils, or liquids with suspended particles will not work properly and may permanently damage the fine mist mechanism.
Problem: Leaking From the Head
- Check the seal. The connection between the spray head and bottle body must be completely airtight. Remove the head, clean both the threads and the gasket, and reattach firmly.
- Inspect for cracks. The pressurized mechanism means even tiny cracks in the head assembly will cause leaks. Examine the housing carefully under good light.
- Do not over-pressurize. If you pump excessively beyond what is needed (50+ times), the excess pressure can force liquid past seals. 20-30 pumps is the sweet spot for most continuous spray bottles.
Problem: Weak or Uneven Mist
- Clean the nozzle. The fine mist nozzle on continuous spray bottles has an even smaller opening than standard sprayers, making it more susceptible to clogging. Use the hot water soak method described in Fix 1.
- Check the filter. Many continuous spray bottles have a small filter screen near the dip tube inlet. If this is clogged with debris, the flow to the pump is restricted. Remove and clean it with a soft brush, or replace if damaged.
- Use filtered or distilled water. Hard water deposits are the number one cause of continuous spray bottle clogging over time. Using filtered water prevents mineral buildup in the ultra-fine nozzle.
Troubleshooting by Spray Bottle Type
Different spray bottle designs have different common failure points. Here is a quick reference for the three main types:
Trigger Sprayers (Cleaning Bottles, Garden Sprayers)
- Most common issue: Clogged nozzle from dried cleaning chemicals
- Unique weakness: The trigger hinge and spring take the most mechanical stress. Check for spring fatigue if the trigger feels soft after heavy use.
- Best prevention: Flush with warm water after every use, especially with bleach or chemical cleaners.
Fine Mist Sprayers (Hair Products, Cosmetics, Plant Misters)
- Most common issue: Ultra-fine nozzle opening clogs easily from product residue (especially hairspray polymers and oil-based serums).
- Unique weakness: The mist nozzle has a much smaller opening than trigger sprayers — even microscopic particles can cause blockages.
- Best prevention: After each use, pump 2-3 sprays of clean water through the nozzle, then wipe the tip with a damp cloth.
Continuous Spray Bottles (Salon Use, Cleaning, Gardening)
- Most common issue: Insufficient priming — users do not pump enough times to build pressure.
- Unique weakness: The pressurized chamber system requires all seals to be in perfect condition. Even minor seal degradation causes pressure loss.
- Best prevention: Keep fill level at 30-80%, use water-like viscosity liquids only, and store upright.
When to Replace Your Spray Bottle Instead of Repairing It
While many spray bottle problems are fixable, sometimes repair is not worth the effort. Here are the signs that it is time for a replacement:
- Cracked bottle body. A cracked bottle cannot hold liquid safely and will leak. No repair is reliable long-term.
- Multiple worn components. If the spring, seals, and nozzle are all degraded, the bottle has reached the end of its service life.
- Corroded metal parts. Exposure to harsh chemicals can corrode the spring and other metal internals beyond repair.
- Warped or melted plastic. Heat damage is irreversible. The dimensional changes prevent proper sealing.
- Chemical damage. If the pump components have become soft, swollen, or discolored from chemical exposure, the materials have degraded and cannot be restored.
- Persistent leaks after repair attempts. If you have replaced seals and tightened everything and it still leaks, internal surfaces may be too worn for any gasket to seal against.
- The bottle was cheap to begin with. Budget spray bottles use thinner plastics, weaker springs, and lower-quality seals. They are designed for limited use, not long-term durability.
Why Quality Matters: Choosing Spray Bottles That Last
The truth is, most spray bottle failures come down to build quality. A well-manufactured spray bottle with precision-molded components, quality seals, and proper material selection will outlast a cheap alternative many times over. This is especially true for continuous spray bottles, where the pressurized mechanism demands tighter tolerances.
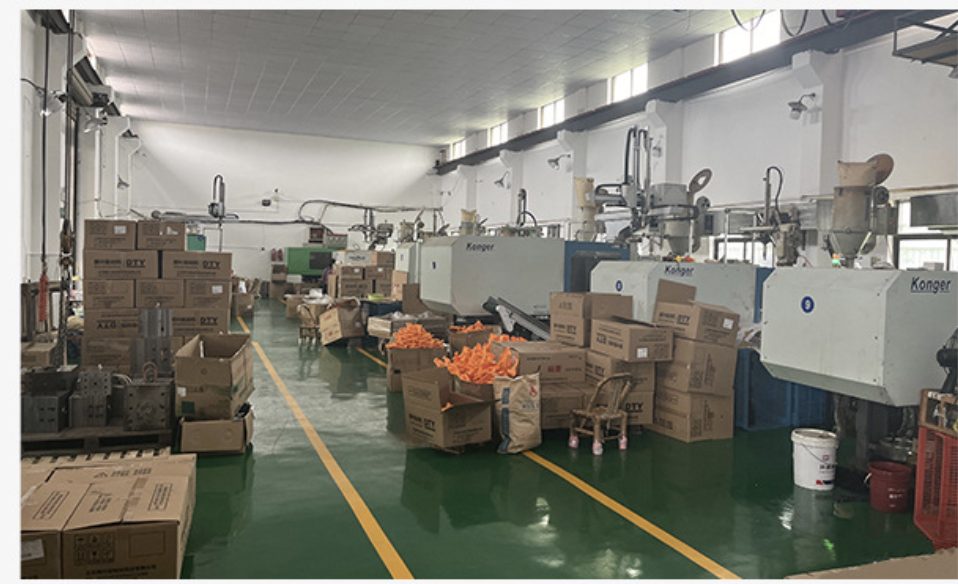
As a spray bottle manufacturer with over 10 years of experience, we at Desiky have seen (and solved) every possible failure mode. That experience is built into our products:
- Advanced leak-proof seal technology — Every bottle undergoes vacuum seal testing to ensure zero leakage, not just on day one, but through thousands of pump cycles.
- BPA-free, chemical-resistant materials — Our PET bottles and PP/ABS spray heads resist degradation from alcohol, cleaners, and essential oils — preventing the chemical incompatibility failures described above.
- Precision-engineered pump mechanisms — Consistent spring tension and tight-tolerance piston seals ensure reliable spray performance from first pump to last.
- 6-12 second continuous mist — Our continuous spray bottles deliver an ultra-fine mist for 6-12 uninterrupted seconds per press, with 360-degree operation at any angle.
Whether you need a reliable spray bottle for personal use or are sourcing bottles for your brand, investing in quality up front saves the frustration (and cost) of constant replacements. Explore our continuous spray bottle collection — available in 200ml, 300ml, and 500ml sizes with full OEM customization.
How to Prevent Spray Bottle Problems: 8 Maintenance Tips
Prevention is always easier than repair. Follow these tips to keep your spray bottles working reliably for months or even years:
1. Flush After Each Use
If you use your spray bottle for anything other than plain water, rinse the nozzle and pump with warm water after each session. This prevents residue from drying inside the mechanism. It takes 30 seconds and prevents 80% of clogging issues.
2. Match the Cleaning Method to the Product
Different residues need different solvents. Use vinegar for mineral and chemical deposits, rubbing alcohol for hairspray and oil-based products, and warm soapy water for general cleaning. Using the wrong solvent wastes time — oil-based clogs will not dissolve in vinegar, and mineral deposits will not dissolve in alcohol.
3. Use the Right Liquids
Always check that your liquid is suitable for a spray bottle. Avoid thick liquids, undiluted essential oils, and suspensions with particles unless your bottle is specifically designed for them. When in doubt, dilute. For oil spraying, use a bottle specifically designed for oils.
4. Store Upright With the Nozzle Closed
Storing your bottle upright prevents liquid from sitting inside the spray head, where it can dry out and clog the nozzle. If your bottle has a lock or off position on the nozzle, use it when storing to prevent accidental discharge and dust from entering the nozzle opening.
5. Do Not Over-Tighten
While a loose spray head causes air leaks, over-tightening can crack the collar, strip the threads, or crush the gasket. Tighten until snug and the gasket compresses slightly — then stop.
6. Keep the Nozzle Clean
Wipe the outside of the nozzle regularly with a damp cloth. External buildup can fall into the nozzle opening and cause clogs. For bottles used with sticky or crystallizing liquids, make this a daily habit.
7. Avoid Extreme Temperatures
Do not leave spray bottles in direct sunlight, near heat sources, or in freezing conditions. Heat above 60°C (140°F) warps plastic and degrades rubber seals. Freezing can crack the bottle body and expand water inside the pump mechanism, damaging internal components. Store at room temperature (15-30°C / 59-86°F) for best results.
8. Replace Bottles on a Schedule
Even the best spray bottle will eventually wear out. For daily-use bottles, plan to replace them every 6-12 months. For commercial or professional use, inspect bottles monthly and replace at the first sign of wear. Consistent replacement is cheaper and less frustrating than dealing with mid-task failures.
Frequently Asked Questions
Why is my brand new spray bottle not spraying?
A new spray bottle not working is almost always an air lock issue. The pump mechanism is full of air and needs to be primed. Fill the bottle at least halfway with liquid and pump the trigger 15-30 times until you feel resistance change and liquid starts flowing. This is completely normal and not a defect — every new spray bottle needs priming before first use.
How do you unclog a spray bottle nozzle?
Remove the spray head and soak it in hot water (below 70°C) for 15-20 minutes, pumping the trigger several times while submerged. For mineral deposits, use a 50/50 mix of white vinegar and hot water and soak for 30-60 minutes. For oil or hairspray residue, use rubbing alcohol instead. You can also use a thin pin to carefully clear visible blockages from the nozzle opening.
Why does my spray bottle only dribble instead of spraying?
A dribbling spray bottle usually has a partially clogged nozzle or a failing seal. Try cleaning the nozzle first (hot water soak method). If that does not work, check the gasket at the base of the spray head — a worn gasket lets air in and prevents full pressure from building, resulting in a weak, dribbling output instead of a proper spray.
Can I fix a continuous spray bottle that stopped working?
Yes, in most cases. Continuous spray bottle not working issues are usually caused by insufficient priming, a clogged nozzle, or incorrect fill level. Make sure the bottle is 30-80% full, pump 20-30 times to build pressure, and try the hot water nozzle cleaning if the mist is weak. If the bottle leaks from the head, check the seal connection between the head and body.
Why does my spray bottle pump but nothing comes out?
If the trigger pumps normally but no liquid comes out, check the dip tube first. Remove the spray head and inspect the straw — it may be disconnected, cracked, kinked, or too short to reach the liquid. Also check that the bottle has enough liquid for the dip tube to reach. If the dip tube is fine, the pump's internal check valve may be stuck — see Fix 6 above for how to free a stuck check valve.
How do I fix a spray bottle nozzle that is stuck?
A stuck nozzle is usually caused by dried residue gluing it in place. Soak the entire spray head in hot water (50-65°C) for 20 minutes to soften the residue. Then gently twist the nozzle while applying even pressure. Do not force it with pliers — you will crack the plastic. If hot water does not work, try soaking in white vinegar for an hour to dissolve mineral or chemical buildup.
What is the best way to fix a spray bottle nozzle that sprays sideways?
A spray bottle that sprays at an angle instead of straight ahead has a partially blocked nozzle. Residue is blocking part of the opening, deflecting the spray. Clean the nozzle using the pin method — carefully insert a thin pin into the nozzle opening and rotate it to clear any blockage. Follow with a hot water flush. If the nozzle itself is physically damaged or cracked, it needs to be replaced.
Can I use boiling water to clean a spray bottle?
No — avoid boiling water. Temperatures above 70°C (158°F) can warp the plastic components, damage rubber seals, and ruin the precision fit of the pump mechanism. If your bottle contained alcohol-based products (hairspray, sanitizer, perfume), the steam can also cause splattering. Hot tap water (50-65°C / 120-150°F) is the safe maximum and works just as effectively for cleaning.
Why does my spray bottle leak from the nozzle when not in use?
A spray bottle that leaks or drips from the nozzle when not in use typically has a worn outlet check valve or a damaged nozzle seal. The check valve is supposed to close after each spray, preventing liquid from seeping out. Try soaking the spray head in warm water and pumping several times — this can reseat the valve. If the leak persists, the check valve or nozzle seal may need replacement.
Is it worth fixing a cheap spray bottle?
For a quick fix like unclogging the nozzle or re-priming, absolutely — it takes only a few minutes. But if you need to replace springs, gaskets, or the dip tube, it is usually more practical to replace the bottle entirely. Cheap bottles use lower-quality components that tend to fail again quickly after repair. Investing in a well-made spray bottle from a reputable manufacturer saves time, frustration, and money in the long run.
How long should a quality spray bottle last?
A well-made spray bottle with quality components should last 1-3 years with daily use, or longer with proper maintenance. The lifespan depends on what liquid you use (harsh chemicals shorten it), how frequently you use it, and how well you maintain it. Commercial-grade bottles with stainless steel springs and chemical-resistant seals last significantly longer than consumer-grade alternatives.
Conclusion
A spray bottle that won't spray does not have to mean a trip to the store. Most issues — clogged nozzles, air locks, loose connections — can be fixed in minutes with no special tools. Start with the simplest fix (clean the nozzle, re-prime the pump) and work your way to more involved repairs only if needed.
Here is a quick summary of which fix to try first based on your situation:
| Your Situation | Try This First |
|---|---|
| Spray is weak or blocked | Hot water nozzle soak (5 min) |
| Brand new bottle, won't spray | Pump 15-30 times to prime (1 min) |
| No resistance when pumping | Tighten spray head & check gasket (2 min) |
| Only works when tilted | Check dip tube length & position (5 min) |
| Trigger won't bounce back | Replace the spring (15 min) |
| Continuous bottle only gives bursts | Pump 20-30 times, check fill level (2 min) |
Prevention beats repair every time. Flush your bottles after use, use the right liquids, and store them properly. And when a bottle has truly reached the end of its life, replacing it with a quality-built alternative will save you from repeating the same fixes over and over.
If you are looking for spray bottles that are engineered to last — whether for personal use, your brand, or commercial application — explore Desiky's continuous spray bottle collection. Every bottle is vacuum-tested for leak-proof performance, built with BPA-free materials, and backed by over 10 years of spray bottle manufacturing expertise. Contact us for free samples and wholesale pricing.
Related Articles: How to Choose a Supplier on Alibaba · OEM Custom Manufacturing Guide · Samples Guide: Testing & Approval · Cosmetic Bottle Wholesale Guide